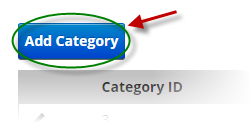
Key in all the Category info such as the Sort Order and Category Name.
The following settings are available to be configured for Categories:
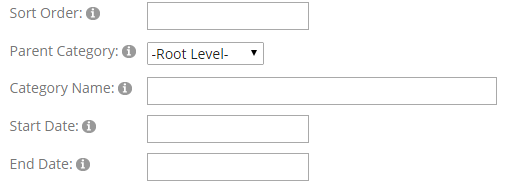
Sort Order - The sort order field controls the order in which the categories are displayed in the product catalog. Enter a numeric number from 1 to 999. The product categories will be sorted in ascending order by the sort order field.
Parent Category - The parent category is used to define subcategories and nested sub categories. If you do not select a parent category and leave the dropdown as “Root Level” then you are defining a top level category. If you choose a parent category from the dropdown list you are defining a subcategory or a sub sub category, etc.
Category Name - Enter the product category that you wish to add in the Category Name field.
Start Date - Select the date to start showing this category.
End Date - Select the date to hide the display of this category.
Click the Save button when finished.
Edit Category
To edit a Category from the Manage Categories page, click the pencil next to the Category:

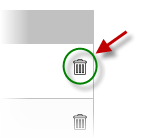
Delete Category
To delete a Category, click the Delete button next to one or more Categories: