Contents
Introduction
The Customers page shows information about your Customers such as Customer ID, Name, Address, DNN Login and Phone Number. You can also view all Payments of a specific customer.
To access the Customers screen, navigate to the admin menu and select the customers option.

After selecting Customers the following Manage Customers screen will be displayed:
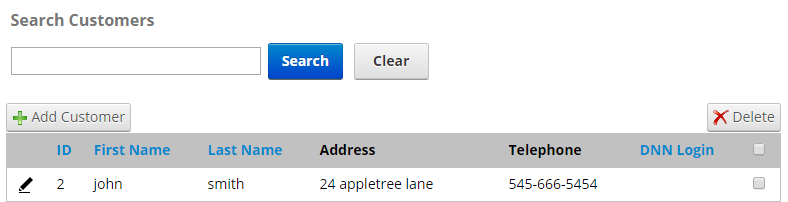
The Manage Customers screen displays a grid view listing of your Customers for quick viewing and by default is sorted by ascending order of Customer ID.
From the Customers page you can:
- Search Customers
- Add a new Customer
- Edit existing Customers
- Delete a Customer
[up to contents]
Search Customers
The Search Customers section can be found at the top of the Manage Customers screen.

By default, the Customers screen shows you all of your Customers and is sorted showing the oldest Customers first. The Search Customers section allows you to search and/or filter Customers in the following ways:
- Keyword Search
- Sorting the Grid
[up to contents]
Search Customers by Keyword
The Keyword Search allows searching for Customers based on the Customer ID, Name (first or last), DNN Login, etc.

Simply enter the identifying information in the Search textbox and click the Search button and the customer grid will filter on the criteria you entered.
To remove the filter and show all orders click the Clear button.
[up to contents]
Sorting the Customers Grid
You can sort the Customers listing grid by any of the fields listed in the header column by clicking the Header name – Customer ID, First Name, Last Name, DNN Login, Address, City, State, Postal Code, Country, and Phone.
If you click the column heading in the grid it will sort on the field heading clicked in ascending order, if you click the column heading again the grid will sort in descending order on the field heading clicked.

[up to contents]
Add Customer
The Registration module provides the ability to add new Customers. To add a new Customer take the following steps:
- Go to the Manage Customer screen
The first step to adding a new Customer is navigating the Manage Customers screen.
- Click Add Customer
From the Manage Customer screen click the “Add Customer” button.
- Enter Customer Details
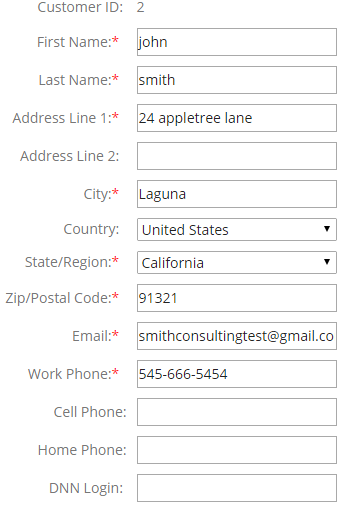
On the Add Customer screen enter the Customer Information Details
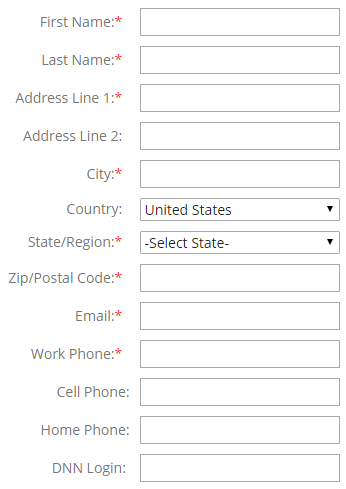
After entering the Customer Information Details click the “Save” button to save the Customer.

- Add Customer Complete
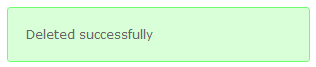
If the Customer was saved correctly the following message will be displayed:
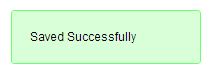
This completes the steps to add a new Customer to your Registration.
[up to contents]
Update Customer
The Update Customer page shows you important information about your Customers such as Name (first or last), Address, Email, DNN Login, etc.
From the Update Customer page, you can:
- Edit a Customer’s Address
- View and edit details about the customer
- Update a Customer's DNN Login
To view the Update Customer page click the “Edit” button next to the customer's name.
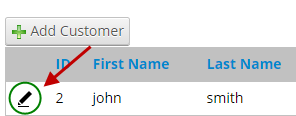
Once a Customer has been selected from the Manage Customers list the following Update Customer screen will be displayed:
Make the changes to the Customer and click the “Save” button to save your changes.

[up to contents]
Edit Customer
To edit or view the details of an existing Customer, click the “Edit” button next to the customer you wish to modify.
Once a Customer has been selected from the Manage Customers list the following screen will be displayed:
ll the fields in the Customer Detail screen above are available to edit, make your changes and click the “Save” button to save your changes.
[up to contents]
Delete Customer
To delete a Customer, from the data grid that lists your Customers check the Delete checkbox next to the Customer you wish to delete then click the “Delete” button to delete the selected Customer(s).

If the deleting the Customer(s) was successful, the following message will be displayed.
[up to contents]