Introduction
The Business Directory Settings allow you to configure options that apply module wide in your directory.
To access the Business Directory Settings, navigate to the Signup module and select the Setup option from the Directory Admin Menu:

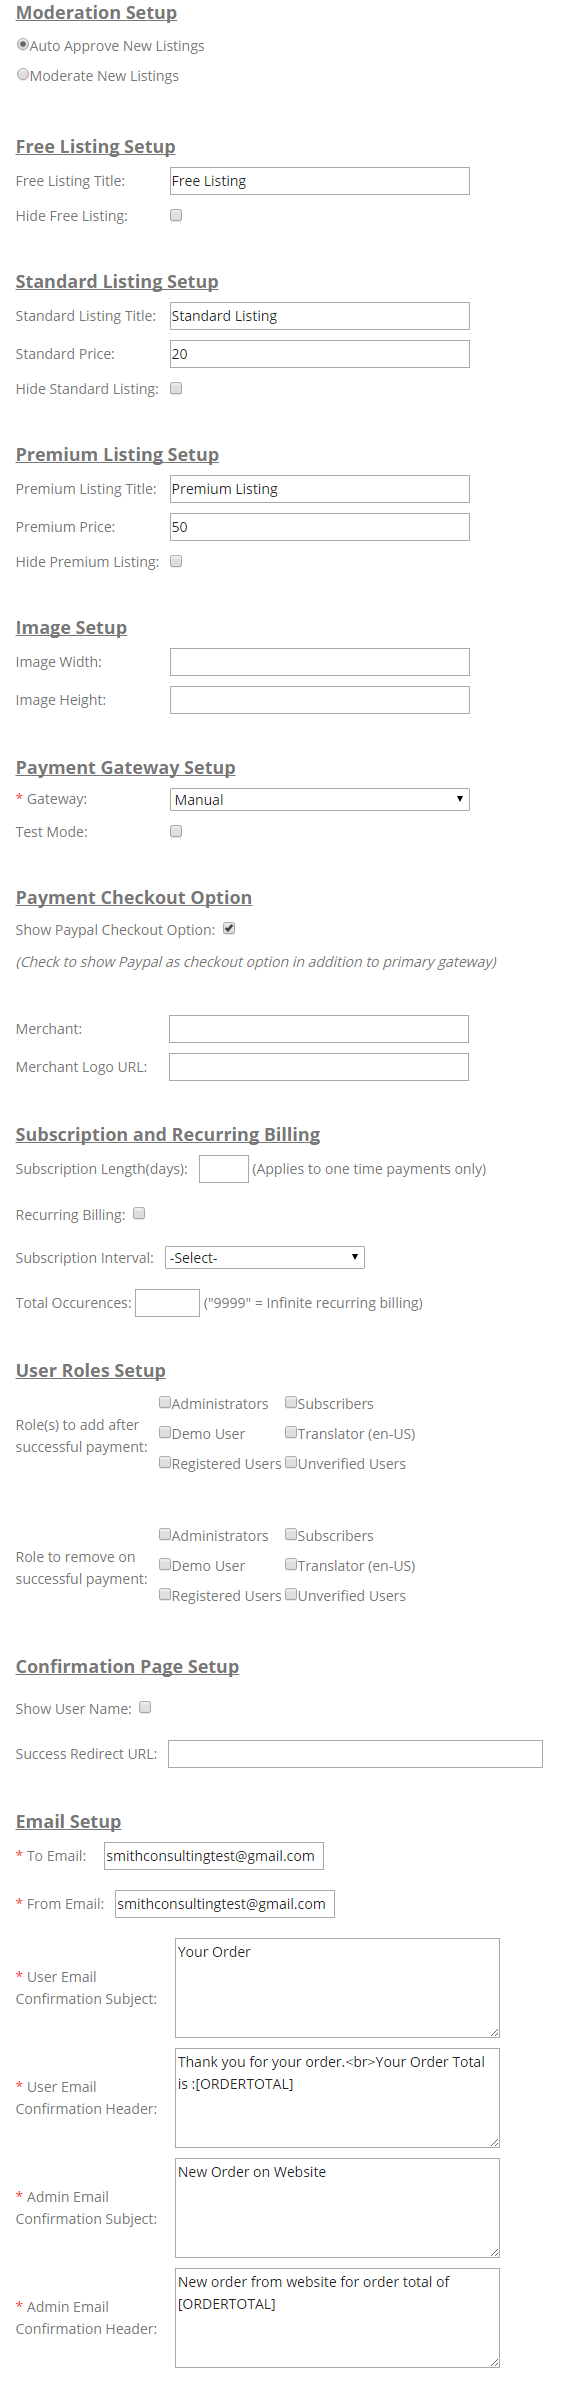
The following screen will be displayed:
[up to contents]
Moderation Setup
Moderation setup allows you to configure if a listing is automatically approved to be displayed in the directory or if it must be approved before showing up in the directory listing.
The following Moderation settings are aviable to be configured:
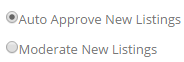
Auto Approve New Listings – Select this option if you want new listings to automatically be displayed in the directory listing.
Moderate New Listings – Select this option if you want to moderate new listings before they are displayed in the directory listing.
[up to contents]
Listing Setup
When you add the Business Directory module to your DNN page the default configuration of the module displays three signup levels, one free and two paid levels. The signup levels can be configured with a title and price. Each level can also be hidden.
The following 3 levels are aviable to be configured:
- Free Listing
- Standard Listing
- Premium Listing
[up to contents]
Free Listing Setup
The following settings are available to be configured in the Free Listing Setup:

Free Listing Title – Enter the title you want to be displayed at the top of the free listing sign up form.
Hide Free Listing – Enable this setting to hide the Free Listing level.
[up to contents]
Standard Listing Setup
The following settings are available to be configured in the Standard Listing Setup:
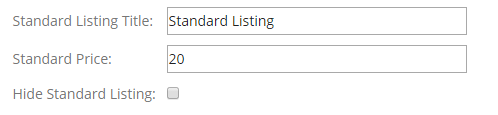
Standard Listing Title – Enter the title you want to be displayed at the top of the standard listing (paid level 1) sign up form.
Standard Price - Enter the price you would like to charge for the standard listings.
Hide Standard Listing – Enable this setting to hide the Standard Listing level.
[up to contents]
Premium Listing Setup
The following settings are available to be configured in the Premium Listing Setup:
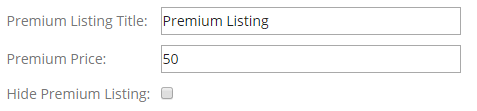
Premium Listing Title – Enter the title you want to be displayed at the top of the premium listing (paid level 2) sign up form.
Premium Price - Enter the price you would like to charge for the premium listings,
Hide Premium Listing – Enable this setting to hide the Premium Listing level.
[up to contents]
Image Setup
The following settings are available to be configured in the Image Setup section:

Image Width – The Image Width textbox allows you to control the pixel width of images that are displayed in your directory listing.
Image Height - The Image Height textbox allows you to control the pixel height of images that are displayed in your directory listing.
[up to contents]
Payment Gateway Setup
The payment gateway is the server and software programs the Registration module sends credit card or echeck (ACH) transactions to for processing.
If you do not have a gateway or merchant account setup, please contact Smith Consulting at 949-218-9600. We are certified merchant account and payment gateway resellers. In addition, we offer free setup and configuration of the registration module and payment gateway if you sign up through us.
The following Payment Gateways supported:
- Authorize.Net (AIM)
- PayPal Standard
- Manual Processing (No Gateway) – If you choose this option the module allows the user to complete the registration without processing the credit card through a gateway. The module stores the customer’s registration and credit card information in the database and you can process the credit card transaction at a later time manually through your credit card terminal or virtual terminal.
For more information on Payment Gateways and Recurring Billing features supported in the Business Directory module please see the following link to our payment gateway user guides: Payment Gateway Guide
Test Mode – When checked allows you to submit test transactions to the payment Gateway.
[up to contents]
Payment Checkout Option
The show PayPal checkout option allows you to give your customers the option to checkout using PayPal standard in addition to the gateway option that you configured above under gateway settings.
Note: If you have configured PayPal standard under the gateway settings above you should NOT check the show PayPal checkout option checkbox. If you have configured PayPal Websites Payments Pro or PayPal Payflow Pro under the gateway settings above you should ONLY check this box if you want to give your customer the additional option at checkout to pay using PayPal standard.
When the Show PayPal Checkout Option is enabled the following two additional fields depicted in the following screenshot are displayed:
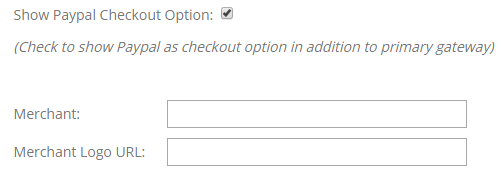
Merchant (Required) – Enter your PayPal email address you created when you signed up with PayPal.
Merchant Logo URL (Optional) – Enter the path to your company logo. Your company logo will show up on the PayPal checkout screen as the user checks out on PayPal.
User Checkout
When “Show PayPal Checkout Option” is checked the user is presented with the option to pay on your website using the payment gateway you configured from the gateway dropdown or checking out on the PayPal website using PayPal Website Payments Standard.
See the following screen of the Directory checkout for an example:
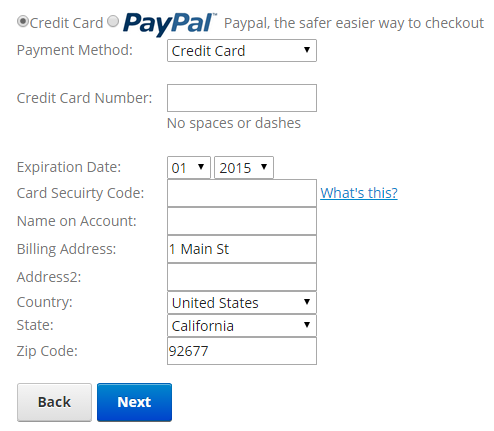
When the user clicks the PayPal radio button the Directory module hides the credit card fields because the user will be entering their credit card information on the PayPal site.
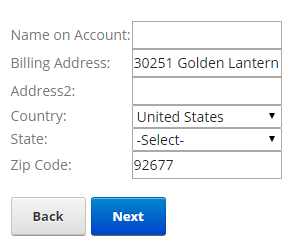
When the user clicks the “Next” button they will be taken to a confirmation page.
[up to contents]
User Roles Setup
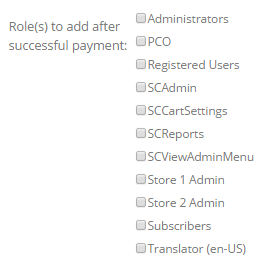
Role(s) to Add after Successful Payment – The Directory module allows you to select multiple roles to add a user to upon successful registration and credit card authorization, the user will be placed in the roles that you choose here. All the currently defined roles in your DNN portal will be available as checkboxes.
To add new roles, go to the DNN Admin menu - user roles menu option. Default DNN roles are Administrators, Content Manager, Registered Users, Subscribers.
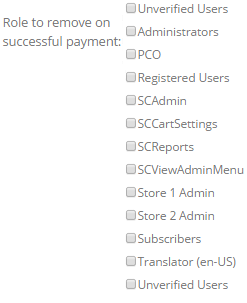
Role(s) to Remove after Successful Payment – The Directory module allows you to select one or more roles to remove a user from upon successful registration and credit card authorization; the user will be removed from the roles that you choose here. All the currently defined roles in your DNN portal will be available as checkboxes.
[up to contents]
Confirmation Page Setup
The following settings allow you to configure custom option to the confirmation page of the Directory module.

Successful Payment Page - Choose the page that you want to direct the user to after they have successfully completed their online payment and registration.
Show User Name – When checked the user will be prompted during their payment registration to enter a user name that will be used as their DNN user name to login to the website. When unchecked the user will not be prompted to enter a user name and their email address will be used as their DNN login.
[up to contents]
Subscription and Recurring Billing
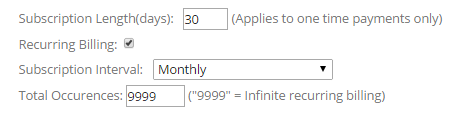
Subscription Length (days) - This field only applies to registrations of one time payments, not recurring. The purpose of this field is to calculate the expiration date for the user's membership and remove them from the DNN role they were added to when registered. The calculation to determine the expiration date is the date the user registered plus the number of days entered in this field. The Directory module will automatically remove the user from the custom role on their expiration date. Subscription Length (days) is for one time payments only and cannot be used with recurring payments. Leave the field blank if you want the user’s membership to your portal to never expire.
Recurring Billing - Check this box is you want to enable recurring billing in the payment Directory module.
Subscription Interval – This dropdown box is where you configure the subscription interval for recurring payments. The options available are weekly, monthly and yearly. For example, if you choose monthly and the user registers on 1/1/09, the first payment will be automatically billed on 1/1/09 at midnight. Their second payment will be billed on 2/1/09 and so on.
Total Occurrences - This setting only applies if you have checked the box for recurring billing above. Enter a numeric value for the number of times that you want the recurring billing to charge the customer. Enter "12" to bill the customer’s card 12 times. Enter "9999" to have the recurring billing continue indefinitely.
[up to contents]
Email Setup
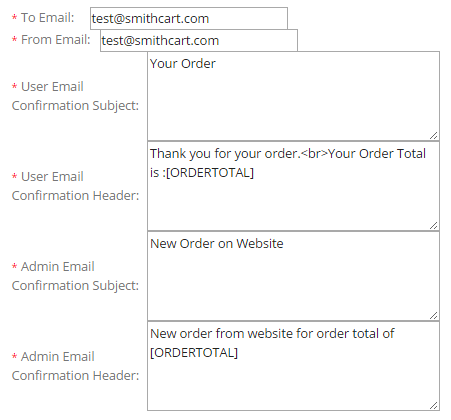
Store To Email Address – Enter the email address for your store administrator that you want the order email notifications to be sent to.
Store From Email Address – Enter the email address that you want the order email notifications to the customer be sent from.
User Email Confirmation Subject - Enter the subject line for the email that will be sent to the customer upon successful registration and payment.
User Email Confirmation Header - Enter the text for the header of the email that will be sent to the customer upon successful registration and payment. The header will be displayed at the top of the invoice. Html is supported.
Admin Email Confirmation Subject - Enter the subject line for the email that will be sent to the portal admin upon successful registration and payment.
Admin Email Confirmation Header - Enter the text for the header of the email that will be sent to the portal admin upon successful registration and payment. Html is supported.
Email Tokens - The following tokens can be entered in the User Email Confirmation Header and Admin Email Confirmation Header to customize the email message.
[FIRSTNAME]
Customer's First Name
[LASTNAME]
Customer's Last Name
[USERNAME]
Customer’s DNN User ID
[EMAIL]
Customer’s email address
[ORDERTOTAL]
Total order amount
Note: All email tokens must be entered in uppercase and be enclosed in square brackets as shown above.
To further customize the confirmation email to add your company logo, custom message, etc. you can modify the email html template located off your portal root directory in /desktopmodules/smithdirectory/
- OrderTemplate.htm – standard email template that can be customized
Save your settings - When you are finished configuring the settings above click the “Update” button at the bottom of your screen.