From the Admin Menu in your DNN portal, select RazorCart admin console:
You will be taken to the dashboard of your store.
Select the Products tab under Inventory on the left hand side.
You will see the following screen:
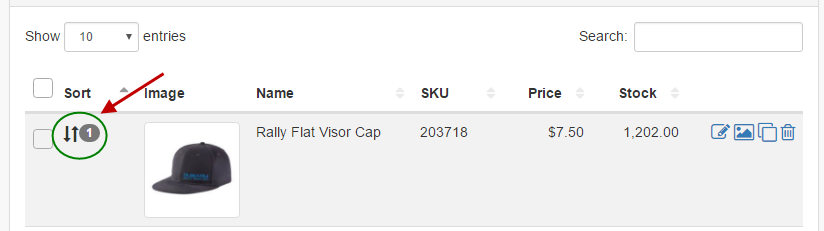
Sorting Products
To sort products simply drag and drop the product to the desired location using the sort arrows.
Searching Products
The search box on the admin products page searches on the following fields:
- ProductID (requires # prefix) i.e. #125
- Product Name
- Sku
- Description
- Summary
- Search Text
Add Products
To add a new product click the "Add Product" button

Key in all the required fields of the product such as the product name, unit cost and quantity on hand.
Click the “Save” button when finished
Product Setup
The following section describes the fields required to setup a product.
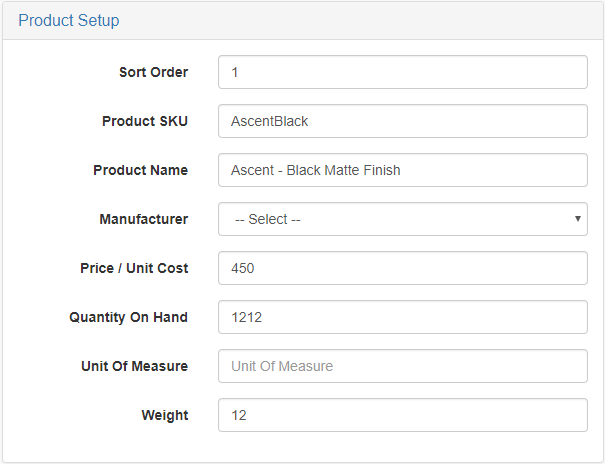
Sort Order – The sort order field controls the order in which the products are displayed in the product catalog. Enter an integer number from 1 to 999999. The products will be sorted in ascending order by the sort order field.
Product SKU – Enter your product sku or model number in this field. The product sku is typically a unique number that identifies your product for inventory purposes.
Product Name - Enter your product name in this field. The product name is displayed to the user in the product list, product detail and cart screens in the shopping cart.
Manufacturer - Select the manufacturer for your product from the dropdown list. (Used for drop shipping supplier). For more information on manufacturers
click here.
Price/Unit Cost – The unit cost is the cost you want to charge for your product. Enter your product unit cost here. If you set the unit cost for a product to zero it will enable “free checkout”. Free checkout will allow the user to add the zero cost product to the cart and checkout, bypassing the payment page where the user normally enters their credit card number.
Quantity on Hand – The quantity on hand field is used to manage your available inventory for your product. Enter the current available product quantity you have available in your inventory. Every time a user purchases a unit of product the quantity on hand is decremented by the number of units purchased. If a product has a quantity on hand of zero or if the customer tries to purchase a quantity of product that exceeds the available on had then the cart will display an out of stock message on the cart screen and not allow the user to proceed to checkout. If you don't want to manage inventory, navigate to the store settings inventory management section and check the box to disable inventory management.
Unit of Measure – The cost or price of an item based on the unit of measure, for example if you sell the product by the case or by inches or feet. If you populate the unit of measure field it will be displayed next to the product price on the product details page.
Weight – Enter your product weight here. If you have configured your store to use the real time shipping calculator, please be sure to enter the product weight. If you enter a weight greater than zero the shipping calculator will calculate real time shipping costs. If you enter zero for your product weight, no shipping will be charged for that product when checking out. If the weight of the all the products in the cart is zero, then the cart will not charge shipping costs.
Sale Pricing
Price Class - Allows you to group products by price class and give discounts by price class. For more information about setting up Price Classes see the
Discounts help article.
Sale Price – Provides the ability to set a sale price for a product. When sale price is populated the product listing and product detail pages on the front end cart will show the regular price with a strikethrough and the sale price will be displayed in red so the customer can see they are getting the product on sale. Please note, in order for sale prices to display to the user you must "Enable Sale Prices" in the discounts setup page.
See the following help article to enable sale prices.
Sale Start Date – Select the date to start your sale
Sale End Date – Select the date to end your sale
Inventory Stock Setup
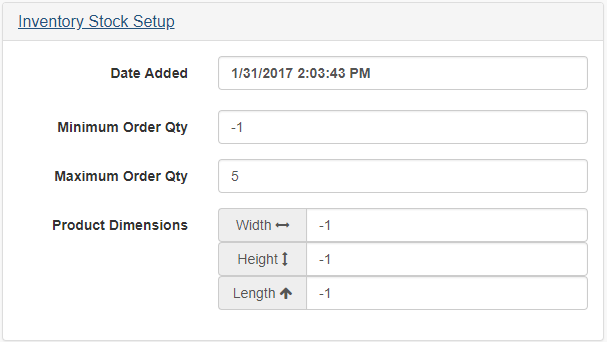
Date Added - The date that the product was added to the system.
Minimum Order Qty - Enter the minimum number of units required to purchase this product. If user clicks add to cart with a quantity less than the min order quantity then the cart will display the message “Product XYZ” has a minimum order quantity of X units” and will not allow the product to be added to the cart until the user enters a quantity that meets the minimum order quantity threshold.
Maximum Order Qty - Maximum Order Quantity - Enter the maximum number of units required to purchase this product. If user clicks add to cart with a quantity greater than the max order quantity then the cart will display the message “Product XYZ” has a maximum order qty of X units” and will not allow the product to be added to the cart until the user enters a qty that meets the maximum order quantity threshold.
Product Dimensions - Specifies the dimensions for your product. Please Note: This field is not currently used for shipping calculations.
Summary and Description

Summary – Short description of the product. Displayed on the product details page and optionally on the product listing page.
Product Description and Tabs - Allows you to add up to five product descriptions for each product and also allows you to configure the tab name for each product description that is displayed on the product details page. The rich text editor is used for managing product descriptions enabling you to add regular text or html and upload photos, videos and pretty much anything you want.
Tab Name 1-5 – Enter a tab label for the tabbed product description that is displayed on the product detail page. The product description tab control supports up to 5 tabs.
Description 1-5 – Enter a detailed product description using the rich text editor. HTML fully supported. The product description tab control supports up to 5 tabs.
Product Options
Share Product – The Share Product feature only applies if you have created more than one store in the RazorCart admin console. This feature allows you to enter products in one store and share them across stores. If the share checkbox is not checked then products added to each store will remain separate from products added to other stores.
Featured Product – Allows the Product to be displayed as a featured products in the product slider module.
User Entered Amount – Enables user entered amounts for a product. When enabled, the user will be able to enter a price for the product. This option is typically used for online bill payment or sites that collect online donations.
Minimum Partial Amount – Enter the minimum partial amount the customer is allowed to pay for this product. Enter -1 to indicate no partial amount allowed.
Product Details URL - Allows you to override the product details module and use your own product details page.
Custom Modal Page - Enter the URL of the page to popup when the user clicks the add to cart button. This is useful if you have a custom form that you want the user to fill out before proceeding to checkout.
Active From and To - Enter the date range that you want this product to be active and display in the catalog. This is useful if you sell seasonal products or just want to have a product active for a certain period of time.
Deactivate Product - Check this box to deactivate the product. When a product is deactivated it will not show up in the front end product catalog and will not be available for purchase.
Tax & Shipping Setup
Tax Exempt – Check this box if you do not want to charge tax for the product.
Taxable Amount (Optional) – If the “Taxable Amount” field is populated, the cart will use the “Taxable Amount” field to calculate tax instead of the "unit cost" field the cart normally uses. Tax is calculated prior to any coupon or discount.
Shipping Cost - Enter the shipping cost you want to charge for this product. If you want all your products to use product level shipping cost you need to select "Product Level Shipping Cost" on the shipping setup page. If you are using the shipping calculator (UPS, FedEx, USPS) only products where you enter a shipping cost will be charged a flat shipping cost and all other products shipping will be charged using the shipping calculator.
Recurring Billing Setup
Download Setup
Download URL (External) - If your product is hosted on an external server enter the full URL to the product. (i.e. http://mydownloadserver.com/products/downloadablefile)
Relative Path (Internal) - If your product is hosted on a same server as your website, enter the relative path to the file. (i.e. ~/portals/0/downloads/ebook.pdf)
Download Limits - These two fields; "Attempts" and "Days" provide an additional level of security on your downloadable products. "Attempts" specifies the number of times the product can be downloaded. "Days" specifies the number of days from purchase that the product can be downloaded.
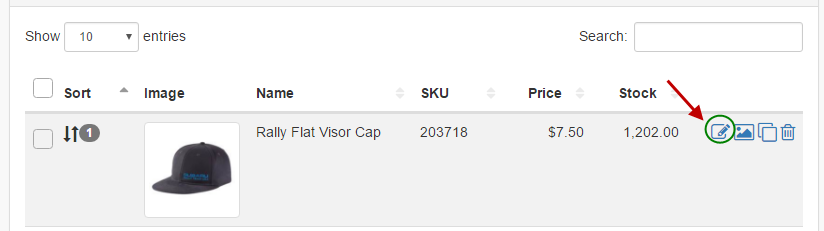
Edit Products
To edit a Product from the Manage Products page, click the pencil next to the product.
Make the necessary changes and save your changes.
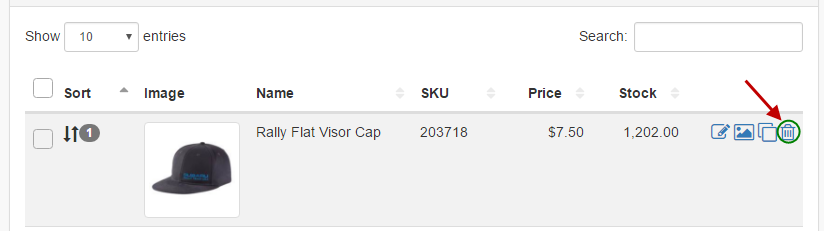
Delete Products
To delete a product, click the "delete" button: